 Not going anywhere for spring break this year? Keep your children’s minds active with a STEM project. Kids can turn your kitchen into an applied physics lab from the moment they purposely toss that first bit of food from their high chair trays. This STEM activity, the Fridge Fun Marble Run, is a lot less mess and a ton more fun. As you watch a marble turn potential (stored) energy, into kinetic energy (energy in motion) on its way down the run, you can also see the gears in your child’s mind turning as they engineer exciting paths to get the marble to reach the cup at the bottom of the run.
I’ve partnered with Bernzomatic to create some fun STEM projects with flair as well as flare, using their ST500 Cordless Soldering Iron. The ST500 is a lightweight, portable, butane-fueled multitool. With its three interchangeable tips, it can be used as a soldering iron as well as a wood and leather burner, a hot air blower for heat shrinking, and a micro torch (yes, a flame!). Used with adult supervision, it will open up a new world of maker possibilities for your child on Spring Break and beyond. See another project I created for them here.
You can pick up the Bernzomatic ST500 at hardware stores, such as Home Depot or Lowe’s. While there, turn your shopping trip into an adventure by giving your child a $5-$10 budget to find embellishments for their marble run as you move through the store.
Also, if you don’t have a home workshop, or for that matter, a saw, to cut the wooden pieces that make up the marble run, you can do that at the store, too. Somewhere in the lumber section, typically near the back, you can find a station where you can cut moulding and trim to meet your needs. The DIY station contains a handsaw or two, and there’s typically an employee nearby who can provide assistance. If your child hasn’t used a hand saw, they’ll probably enjoy the chance to use an adult tool, at least for the first few cuts.
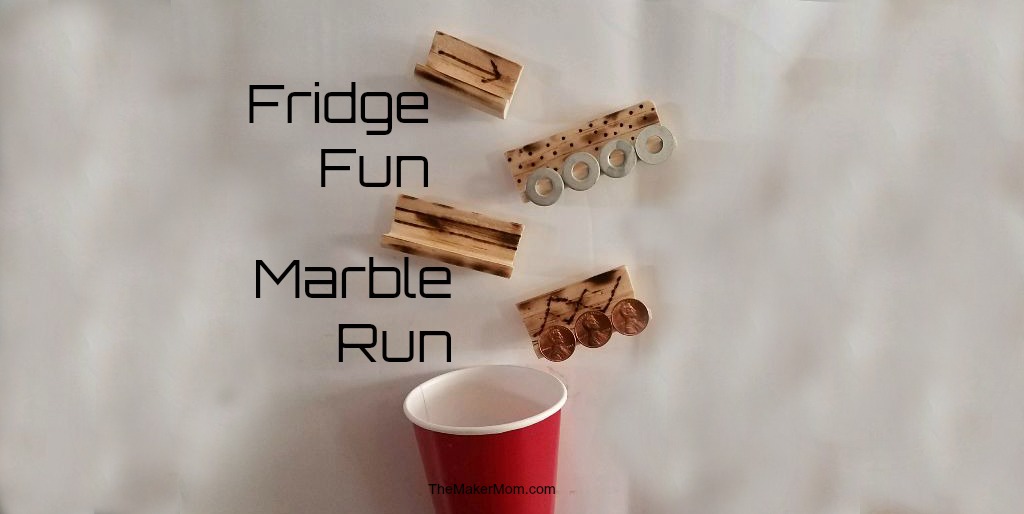
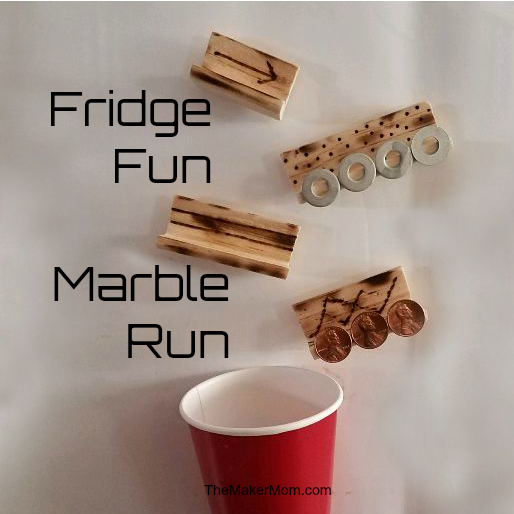
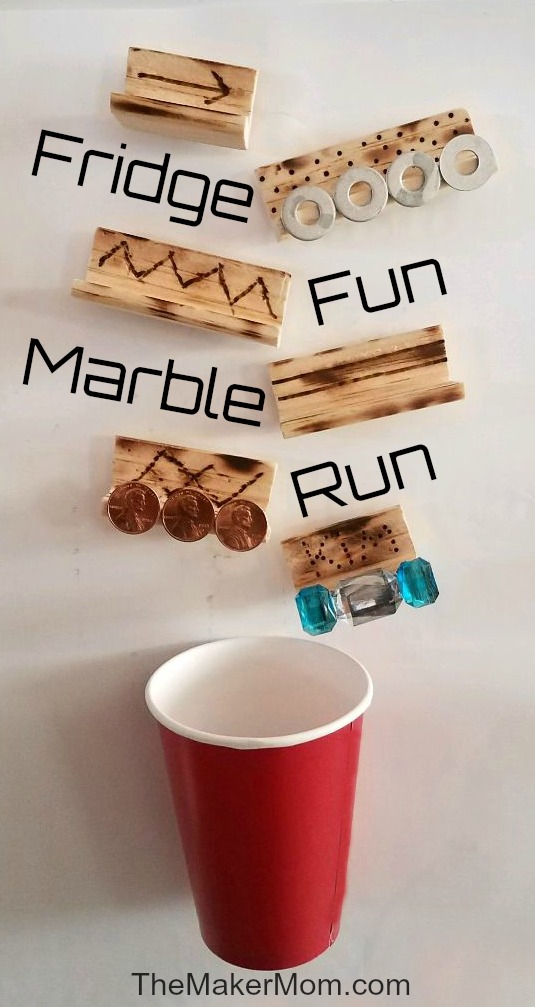
Fridge Fun Marble Run
Supplies
Bernzomatic ST500 Cordless Soldering Iron
Bernzomatic BF55 5.5 ounce Butane Cylinder (this will get you through many more projects)
Safety glasses
2-3 feet of 1-1/8x 1-18x pine or other wooden corner trim
15-20 ceramic magnets
Glue
Sandpaper or sandpaper “sponge”
At least one marble
A paper or plastic cup
Office or construction paper

Steps
If you don’t have the ability to saw the wood at home, do it in the store, cutting it in pieces that range in size from 2 to 3.5 inches. Sand the ends after cutting to ensure smooth edges.
Read the directions so that you can safely use the ST500 Cordless Soldering Iron. Set up a clean, safe, well-ventilated area.
Heat up the ST500 and create designs on the marble run using the soldering tip.
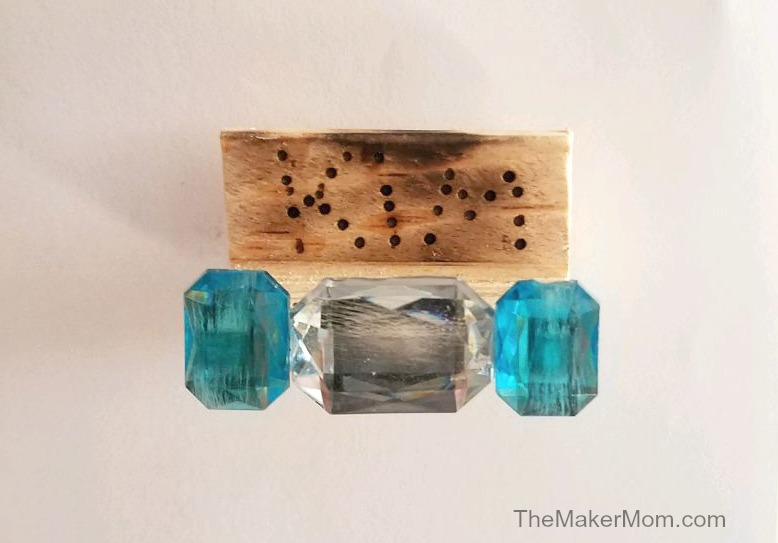
Dots: Poke the tip gently, but firmly into the wood to create dots. The color and depth of the dots will vary based on the pressure and time the tip is pressed into the wood. Using dots to create designs is easier than creating lines. In fact, there’s a whole genre of art based on creating pictures from dots!
Lines: Apply smooth, slow, steady pressure to create lines along the grain of the wood. It’s challenging to make lines that cross the grain of the wood due to inconsistencies in the material. If your child is a perfectionist, be sure to warn them and be prepared to step in to help.
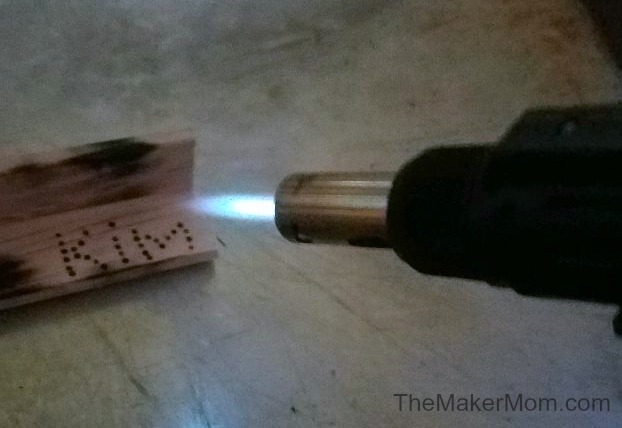
Now add some flare. Taking care to make sure the ST500 is completely cool, remove the soldering tip and set the tool to micro torch mode.
Pass the flame over the wood with slow, careful, controlled movement. As with roasted marshmallows, the ideal look should be golden, not charred.
Once the wood cools, cut it into 2- to 3.5- inch pieces and sand the edges if you didn’t do these steps earlier.
Sand the back where you plan to place the magnets and also wipe the magnets with your sanding block. This will increase the surface area and help the magnets better adhere after gluing.
Add one or two magnets to the back of each piece. If you place one magnet, the piece will easily rotate on the horizontal axis. This may come in handy as a marble launcher and can add to the challenge of creating a successful marble run.

If you plan to embellish the front edge of your wood pieces, lightly sand that edge. Although the embellishments create more of a channel, they are decorative and not necessary for the success of your marble run. You can add faux gems, buttons, washers, coins, or just about any lightweight bling.
Finally, glue a magnet or two to your cup to hold it in place to catch the marbles.
Play the Fridge Fun Marble Run
 Ceramic magnets are strong but can scratch surfaces, so grab a sheet or two of paper to use as backing. Arrange the wooden pieces and cup in what looks like a successful run and then test it out! Did the marble reach the cup or is it time to make a few adjustments?
The engineering process involves understanding a problem and creating a solution to solve it. As your child seeks to figure out how to create a run that will successfully deposit a marble into the cup, they’ll arrange the pieces and put their solution to the test. The first solution doesn’t always work. In fact, often it doesn’t!
Your child must tweak and test until they meet their goal. Of course, once they do, it’s time for a new challenge. They’ll rearrange the pieces to create a different marble maze.
This post was sponsored by Bernzomatic.