Our attempt to make hollow pennies didn’t turn out as planned. This is another way of saying the hollow penny experiment failed, but since I documented our process, I figured I’d share it, and maybe you’ll try it, and you can share better photos if things go according to plan.
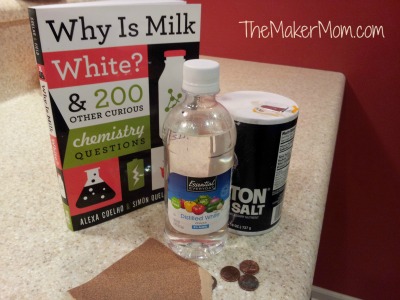
I first read about making hollow pennies from the book, Why Is Milk White? & 200 Other Curious Chemistry Question. It sounded simple enough, and I thought I could make a penny necklace or earrings with our final product, but, well, you’ll see why I didn’t below.
We started out with our book to guide us as well as a bit of sandpaper, table salt, white vinegar a handful of
post-1982 pennies. The dating is crucial because prior to this pennies were 95% copper and 5% zinc, but after 1982 pennies composed of 97.5% zinc and a 2.5% copper coating. (Here’s an interesting overview of the
history of the penny.)
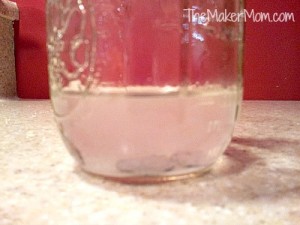
Hydrochloric acid, also known as muriatic acid, can also be used. We stuck with the kitchen science version of salt + vinegar to create a strong acid, but perhaps the HCl is needed to get the best results.
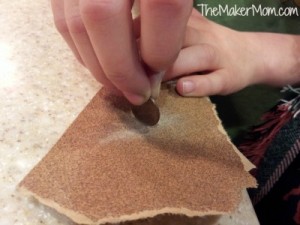
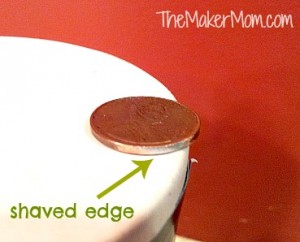
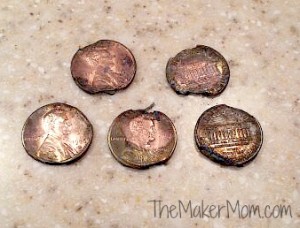
I sanded down each penny at two opposite points, exposing the zinc and creating an entryway for the acid to dissolve the zinc, leaving only the copper shell behind.
The shaved pennies with exposed zinc were placed into the acid bath of salt and vinegar.
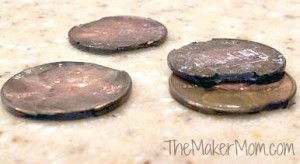
The book warned that our method would take longer to dissolve the internal filler of the pennies than the the HCl method, but after about 12 days and a fresh salt/vinegar bath (my idea, not the book’s), the results were disappointing. Upon removal, the pennies crumbled under our touch. And looked like this:
Uh, yeah, I’m not going to be showing these off anywhere soon. I’m not going to toss them, though.
Please try this at home, and be sure to send me a picture of the results!